3D printing
As I mentioned in my last post, I ordered a 3D printer off Monoprice's Ebay page. They had a very nice deal: a prusa i3 clone for only $309, or, shipped and taxed and everything, 478 canadian pesos.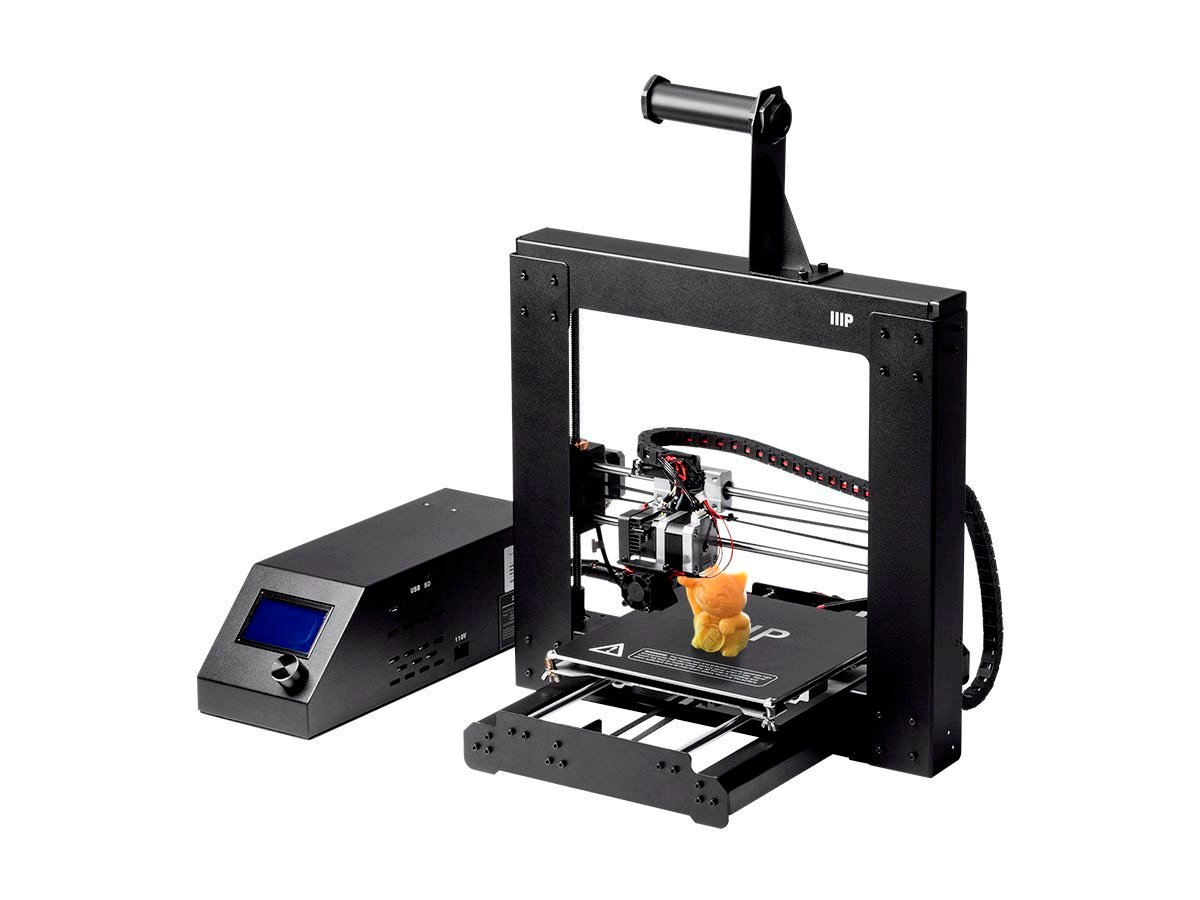 |
| The printer. Monoprice Maker Select, or Wanhao duplicator i3, or Prusa i3 or... |
When it came, I was expecting it to be essentially non-working...or to print like this:

Surprisingly, that's not what happened! Let's start by the beginning though, the opening. Here's the box. Beer for scale (because I didn't have a banana)

The manual, which is pretty much useless when you've been gorging on websites, blogs, subreddits, youtube videos, google groups, etc.

The
The heated bed and the y-axis. Everything is pre-wired....which is both good and bad. Good because wiring in general is a pain, bad because it makes it really hard to get out of the box by yourself. The butterfly on the bed is essentially their QA check I guess. Making the printer run before shipping it, and showing the customer that it did work...at least before being shipped.

But I DID manage to get it out! Ignore the harry potter on the wall, that has been there for way too long, and i'm not supposed to stay much longer, so removing it is way too much effort for what it's worth.

Aaaaand assembled. That was actually really easy!

Then, the other box.

Electronic box cable, a USB cable, micro-sd card, a free complementary scrapper, spool holder, and allen keys. Metric allen keys. At this point I should mention this: EVERYTHING on the printer is metric. Most 3D printers are metric actually. I think it's a good thing, and might actually help americans switch slowly to metric. (Unless they're all using stratasys printers, then we're screwed)

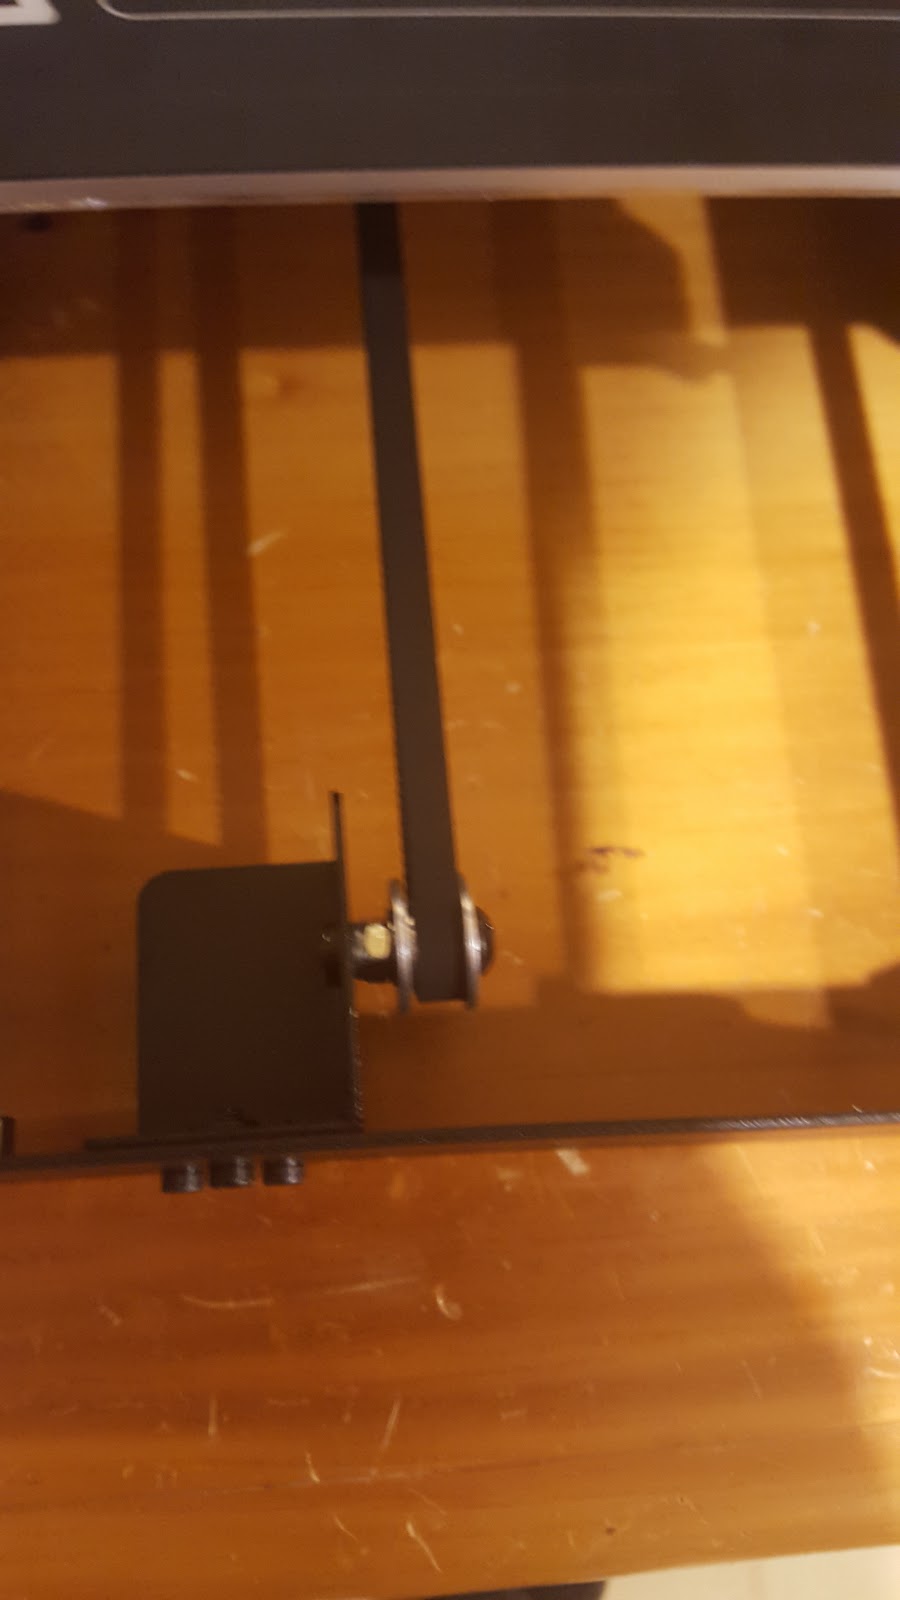
While i'm here, I want to point out some weird design choices. Like, why is this belt pulley fixed only on one end? and with a BOLT? I mean, bolted connections aren't known (or used, EVER) for their strength in flexion. And why did they use a flat cap? had they used a socket cap I could've put a zip tie or something to help, and make the bolt (and zip-tie) force in shear...but nope, stuck with that. I'll need to go buy an M4...or 5, can't really know without taking it off, socket cap screw and zip-tie it.

It works!

I did manage to get something printed though (from the sd card) It's about high! I have a chair! a 3d printed chair for ants!

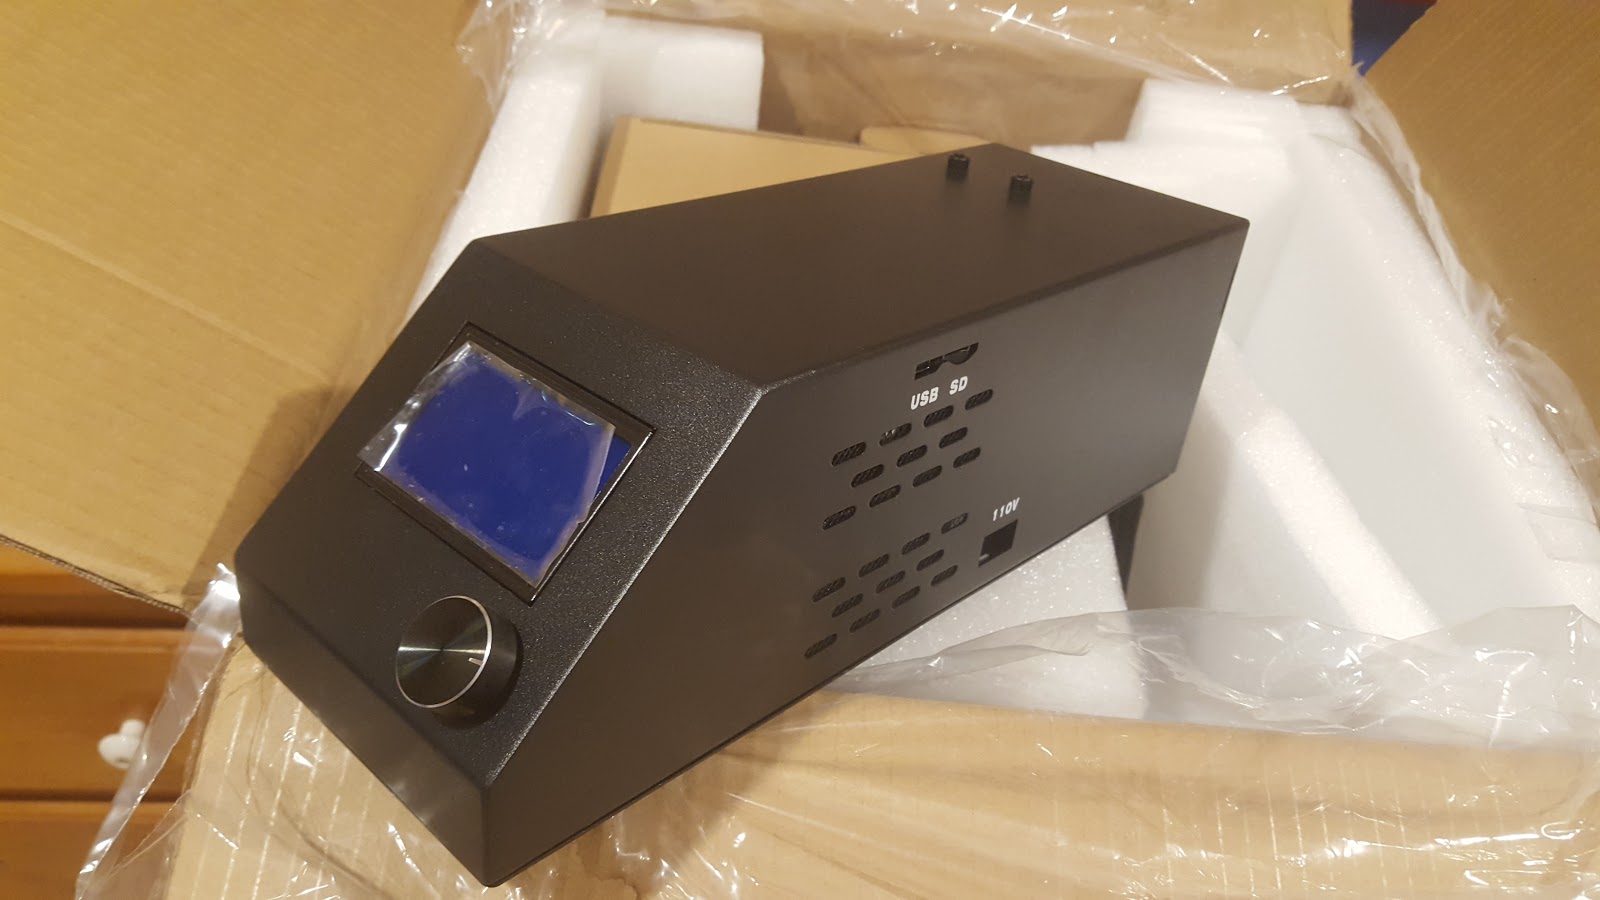
I don't want to print via SD card forever though. What happens if you try to print from the USB port is...the printer resets. You have to go in, open the electronics board, and remove a jumper. The one nicely labelled "Auto-reset" right above Arden of the Ardentissimo. Another bad point here, EVERYTHING is hot glued. I understand that for transport these days, with courrier services pretty much playing soccer/football/football with parcels, you want to connect things in a way that won't come undone. but i'm disapointed nonetheless. It's a bit overkill...and I will hate it if that board dies. Or if the power supply dies, as chinese ones often do.

Now that I can print from USB, the calibration can commence! I had a hard time to even print since that chair. Nothing would stick to the bed, and leveling didn't help. At that point, I found out my aluminium build plate gets a "nice" dome shape whenever it's heated. Thanks, thermal expansion! (not the minecraft mod) So until I get a glass plate, I can only print in the very center of the bed. Oh well, that will do for a few days. Then, things STILL wouldn't stick. So, I thought the raft looked pretty anemic. At that point, I thought I might not be extruding enough plastic. On to E Step calibration!
A nice calibration guide, for any printer, is this one here: Calibration guide
E-step calibration is pretty much the act of telling your printer's firmware how much steps/mm of filament it takes. For my printer, the default value was 96. What you do to calibrate it is to make a mark on your filament, 110 mm from the top of the extruder, then tell the printer, through a program that can send gcode like pronterface, to extrude exactly 100mm of plastic. the ratio of 100mm over what actually came out is the value by which you should multipliate your estep.
And that worked! got a 3D benchy to print. It's measurements are...okay. 32.1 wide, 59.85 long, and 49 high, instead of 32, 60, and 48. The 49 is what annoys me the most, the others are...pretty much spot on (for an out of the box printer) 150 off microns isn't bad when you think the best FDM printers claim 50 microns.


Because of those cooling problems, (which you can also see in the door's overhang on the benchy) I decided to print a cooler! the diii cooler. I'm doing longer and longer prints! That one took 7 hours.

Printing the diii cooler was a mistake though. I should've printed the cobra... the diii cooler has REALLY low visibility at the beginning of a print, and strings like to stick to it. oh well, I wasted what? 28 grams of plastic out of a kg spool. not too bad.
My next print took WAY longer. The diii cooler needed an adapter to use the stock 30mm fan, and, well, I wanted to get on reddit's 3d printer bandwagon and print The Pink Panther Woman. I won't share a picture, because it's not safe for work I guess.
The next print, which was going to be going for 23 hours, screwed up like this:


I've also started 3D printing rocket parts!

And obviously, parts for the printer itself!

I still have a few upgrades i'm planning on doing: Making an enclosure to print ABS, and switching the hot end for a micro-swiss all metal one. Also changing the print cooling fan since the first one crapped the bed. I'm also having a few under-extrusion trouble since a print failed catastrophically (but I don't have pictures, I was more panicking on cleaning the printer and making sure nothing exploded). While frenetically tring to fix it, I noticed the extruder stepper were getting a bit hotter than I like. I'll check the voltage reference, as a common problem on this printer is that it's set too high for the stepper, causing overheating and skipped steps.
End of the semester
I'm actually taking a break from studying for my last exam EVER (well, beside the order's ethics exam in 3 years or so). I still have one semester to go in my bachelor, but the 2 subjects I have left are my capstone design class, and a fluid lab both of which are reports-based. I've also found an internship for this summer, which is required in my program. I was getting worried I would be only missing that to graduate.
So i'm pretty much guaranteed to graduate for christmas! yay!
No comments:
Post a Comment