Midterms are (semi) over! Springbreak is here! What best way to start spring break than by doing some electronics salvaging!
Cleaning up the basement, I realized I had an old all-in-one printer, and an old scanner, taking wayyyyy too much space. Instead of just throwing them out, or giving them away, I decided to salvage them for parts. I knew I would end up with a few DC motors (enough to make a battle robot maybe?) and a few precision-ground shafts.
This is going to be a looooong, image heavy post of me disassembling both.
Printer
Starting with the printer. It's an HP Photosmart C-3180 all in one printer.
Each sides have 2 screws, and are easily removable. No clips! What kind of madness is this? I was expecting clips everywhere! From this side I already see one of the shafts.

And gears!

Two screws on the case-side of the cover holds the whole top. This time there are tabs on the front, but just gently sliding the cover up and forward makes it pop off.

Under it, we find the top control panel, and the clear glass. The glass is held by 2 tabs on the right corners, and 1 piece of plastic screwed in the top, holding the left side.

Here's a better view of the piece of plastic holding the glass, along with the LCD and control panel on the left.

With the top gone, we now have the digitizing head exposed. Humm, why is the ribbon going to the motor so big? what is going on?

Wait...is that...yes! that motor has relative-position feedback!...or maybe speed? In any case, i'm pretty sure both can be done with this encoding wheel.

Going deeper, removing those two screws let you remove the whole top where the scanner thing would slide on.

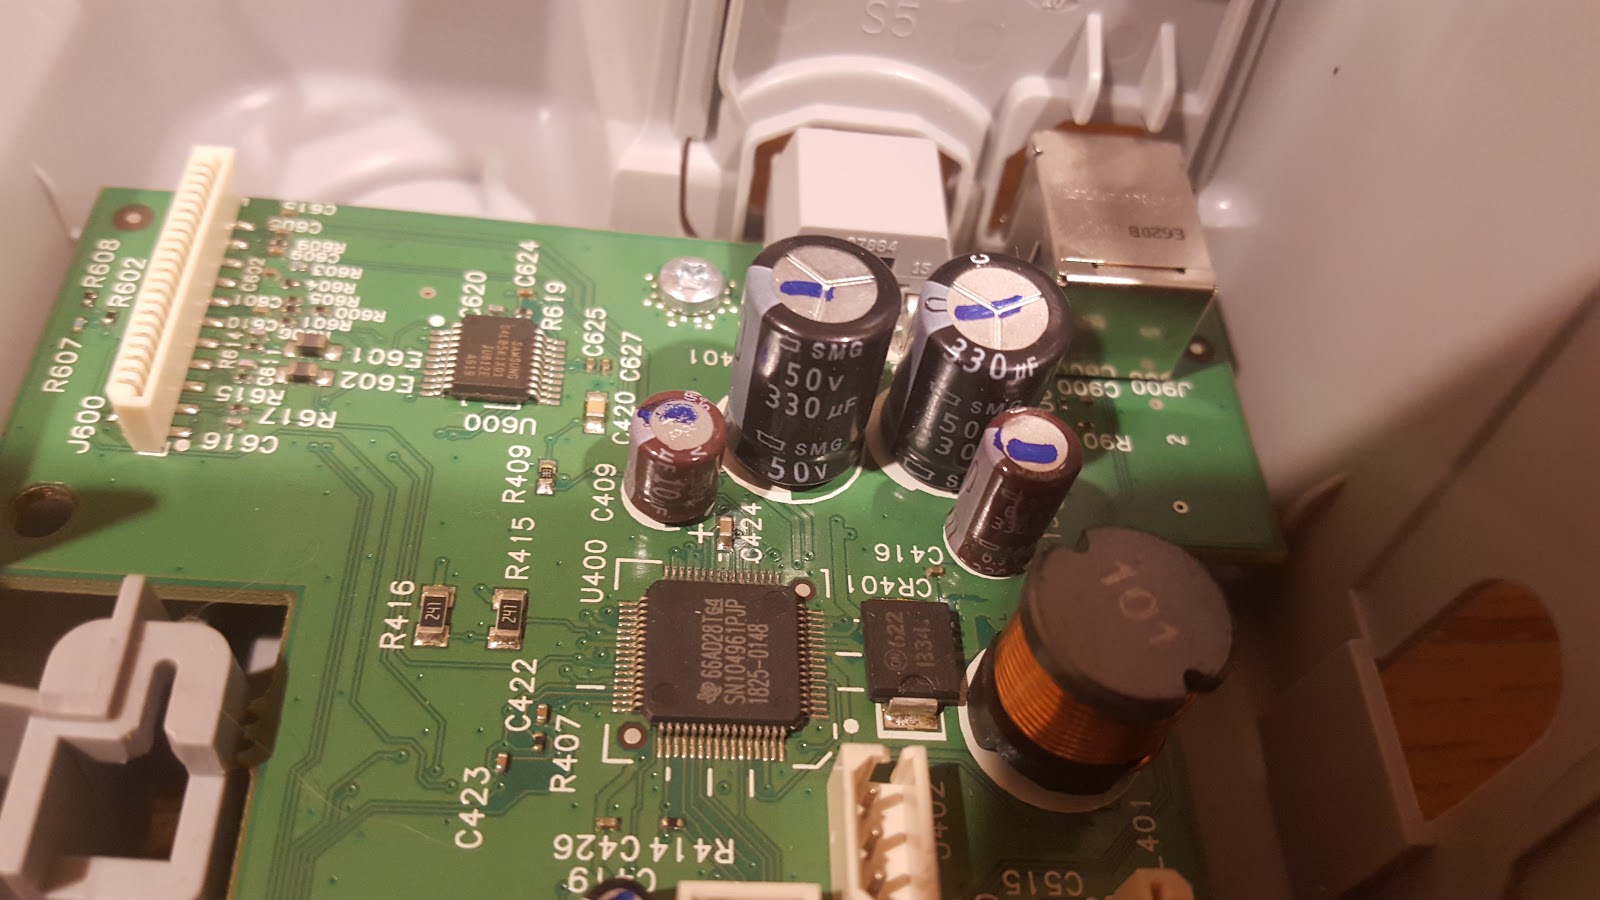
And we're in like Flynn! From here we can see the cartridges, along with their controller.

This thing is what controls the jet of ink. It also has positional feedback thanks to a ruler with very fine lines printed on it. A photodiode shines light through that ruler, and a photo receptor then send a signal every time a black bar flies by. And I do mean FLY by. The lines are barely visible to the naked eye, and the print head is moving awfully fast! If you want to know more, go here.

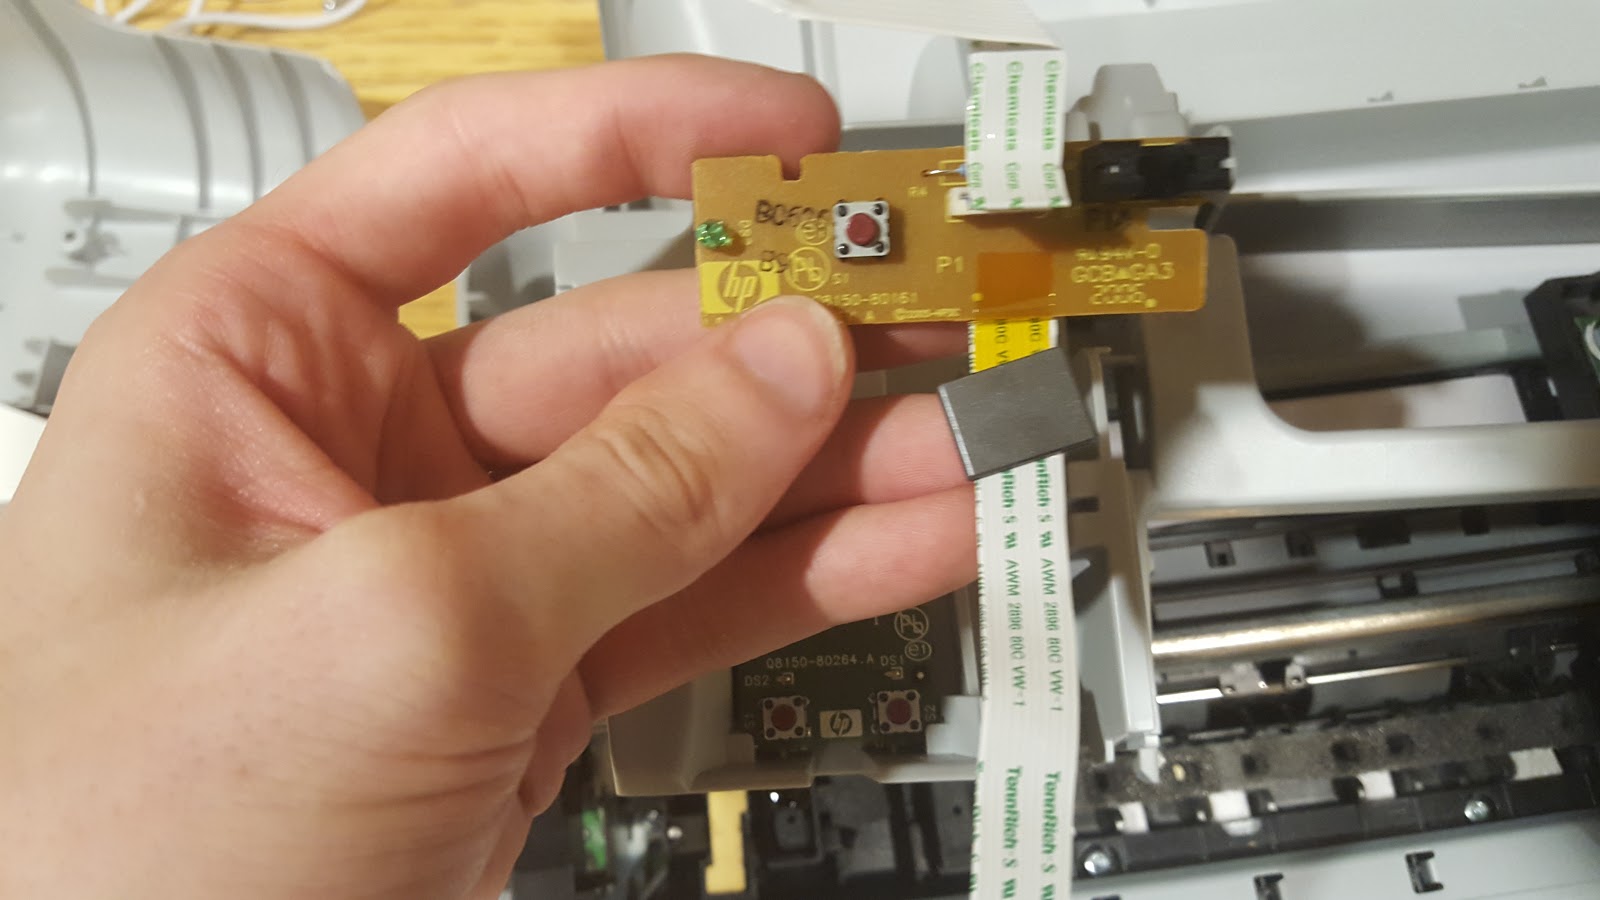
The power button! So cute! And a ferrite bead just for it? wow.
Here you can see one of the 3 precision-ground rod used in the printer. This is the one the printhead slide on! It's held in place on both side with a circlip, and on this side, it's also attached to a spring. Is it for positional accuracy (so that the rod would always come back toward the back side) even though the sheet metal work can't be too accurate, or is it a structural vibration thing? no way to say easilly...and i'm too lazy to actually put everything back together test it with the spring on, remove everything, remove the spring, and try to see if there's a difference to the print quality (or vibration, but I don't really have the tools to test for that)

Once the circlip is removed, the rod slides out easilly.

A few pictures of the printhead. I couldn't find a way to remove the pcb from the plastic casing...so all in the trash it goes!


Some more sheet metal removed. We see 2 more rods, and 2 motors! Nice!


I must admit, the way this rod attached to the sheet metal was...weird. I broke the plastic to remove it, but it sure felt there was a correct way to remove it...


Part of the gear train that is used to take pages from the tray, and push them around in the printer.

Most of those gears are press-fit. What really surprised me was that the rods have small gear-like tooth cut into them. Apparently, the plastic gear is molded with the hole being a bit undersized for those tooth, and the press fit operation actually force them in the plastic, forcing them to be solidly attached in rotation.

From this point on, I don't really know what I was doing. I was simply trying to get to that last rod.



Final loot. Many push-buttons, 3 DC brushed motors, 4 precision-ground rods, 4 springs, a few gears I probably won't use, and 1 pane of glass.

All in all, that was quite fun to disassemble. It's always interesting to see just how much engineering goes into even a cheap printer. All the molding, the sheet-metal work, and the easy of assembly (or disassembly). Now, hopefully one of those motors have the same specs as one of my other ones so I can build something with two wheels...
Scanner
Humm, the top fell off...


Clips, clips ALL around the border. This isn't gonna be easy. humm, why is it only that black border that came off? why is everything still in one piece?

MOAR clips! Sorry for the blurry picture. The top was ALSO held with clips. Pretty much everything is held with clips.


The electronic board for whoever's interested in those kind of things. I'm not qualified to say anything about it.

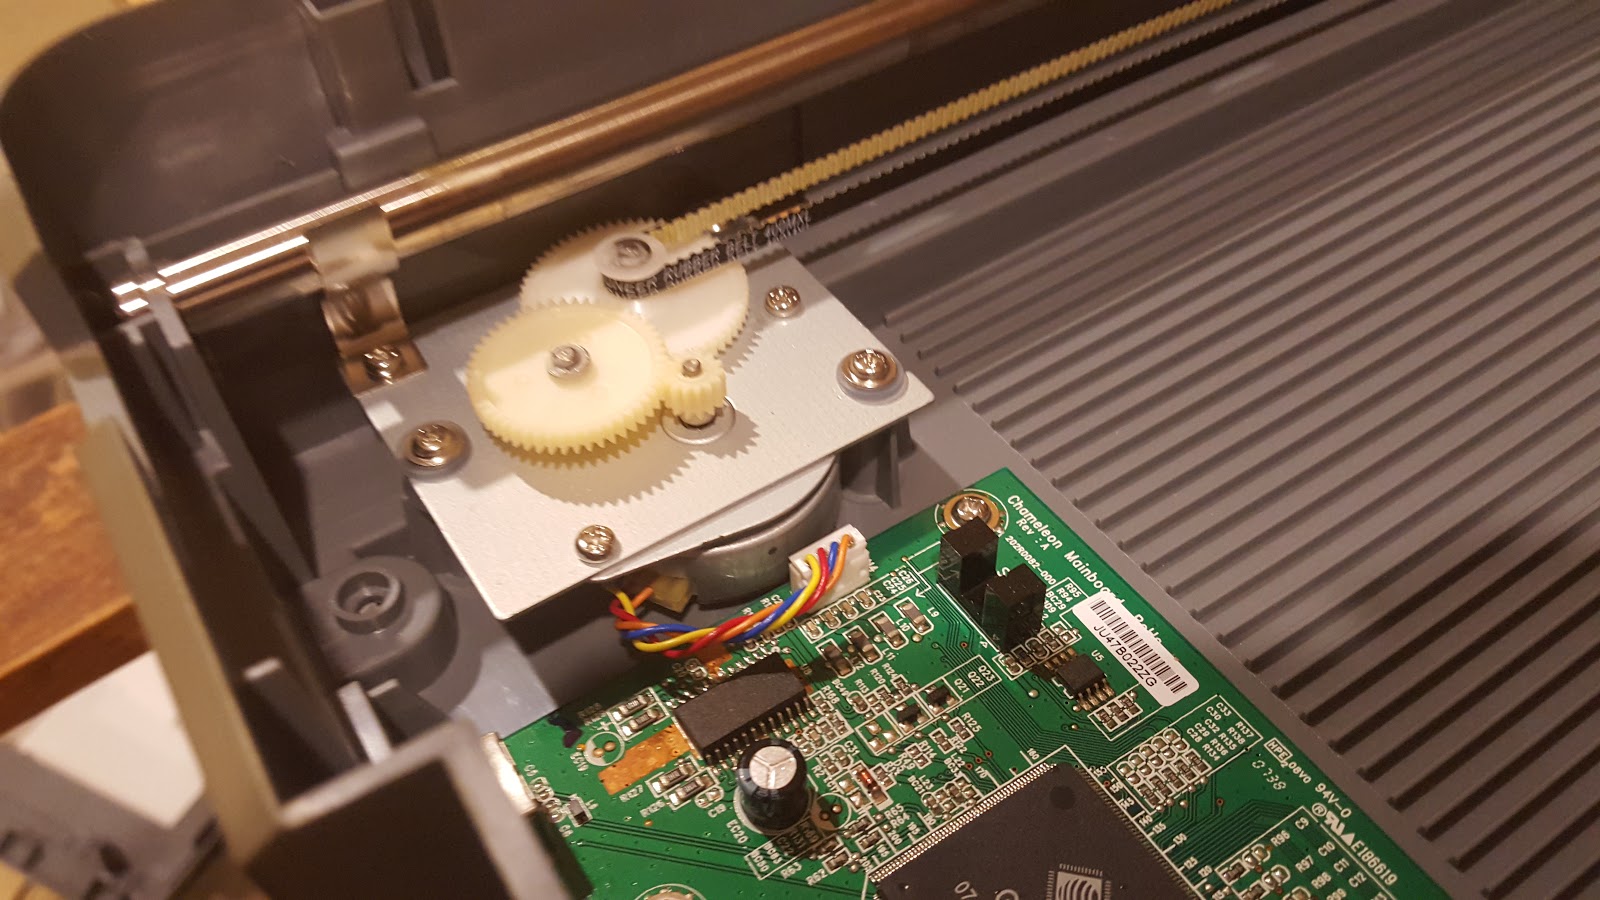
Well, that SURE looks like a 3d-printer drive...
No circlip here. The injection-molded shell has a clip for the shaft.

Looong shaft.

The belt is tensionned used a spring. Quite ingenious. i'm surprised I haven't seen that in any belt-driven 3d printers...but then I haven't seen that many of those either so meh.

I guess that's the CCD control board...


The lens.

Yep, it was the CCD control board. The money shot! That's my first time seeing a "naked" CCD.

Allright, enough electronics, people will wonder why i'm in mechanical engineering again...let's look at the motor. Wait, does it has 4 wires going to it?

Yes, yes it does...humm, that....that is not a DC motor. Can't find a Datasheet, but according to alibaba, that's a 2 phase stepper motor. I have no idea what it's resolution is, but i'll be testing it later. Using this, they didn't need to use a linear encoder like the printer did.

Loot from the scanner. I'm keeping the CCD because...well, i'm sure i'm not the only one who's never seen one. The motor and the shaft will be useful, the rest i'm keeping mostly as curiosities.

Update on my Goals for this year:
I've been bad. With midterms coming, I focused on that, and set the goals aside. Had I tried a bit harder, I could've fit everything in.
I was starting to hit a wall with the guitar, where I could play each song up to a certain level...but then any harder and everything comes crashing down. I think I need to review that a bit, maybe start trying to learn specific songs using tabs, instead of rocksmith, and play them in slow motion, and then faster and faster.
As for the Ocarina...well, everyone around me apparently hates the sound of it. So I stopped doing that too, as I was getting yelled at. I'll start again when I can play outside I guess...which means not right now, because I don't enjoy frostbites.
As for math, until my midterms, I've had problem finding exercise sets.
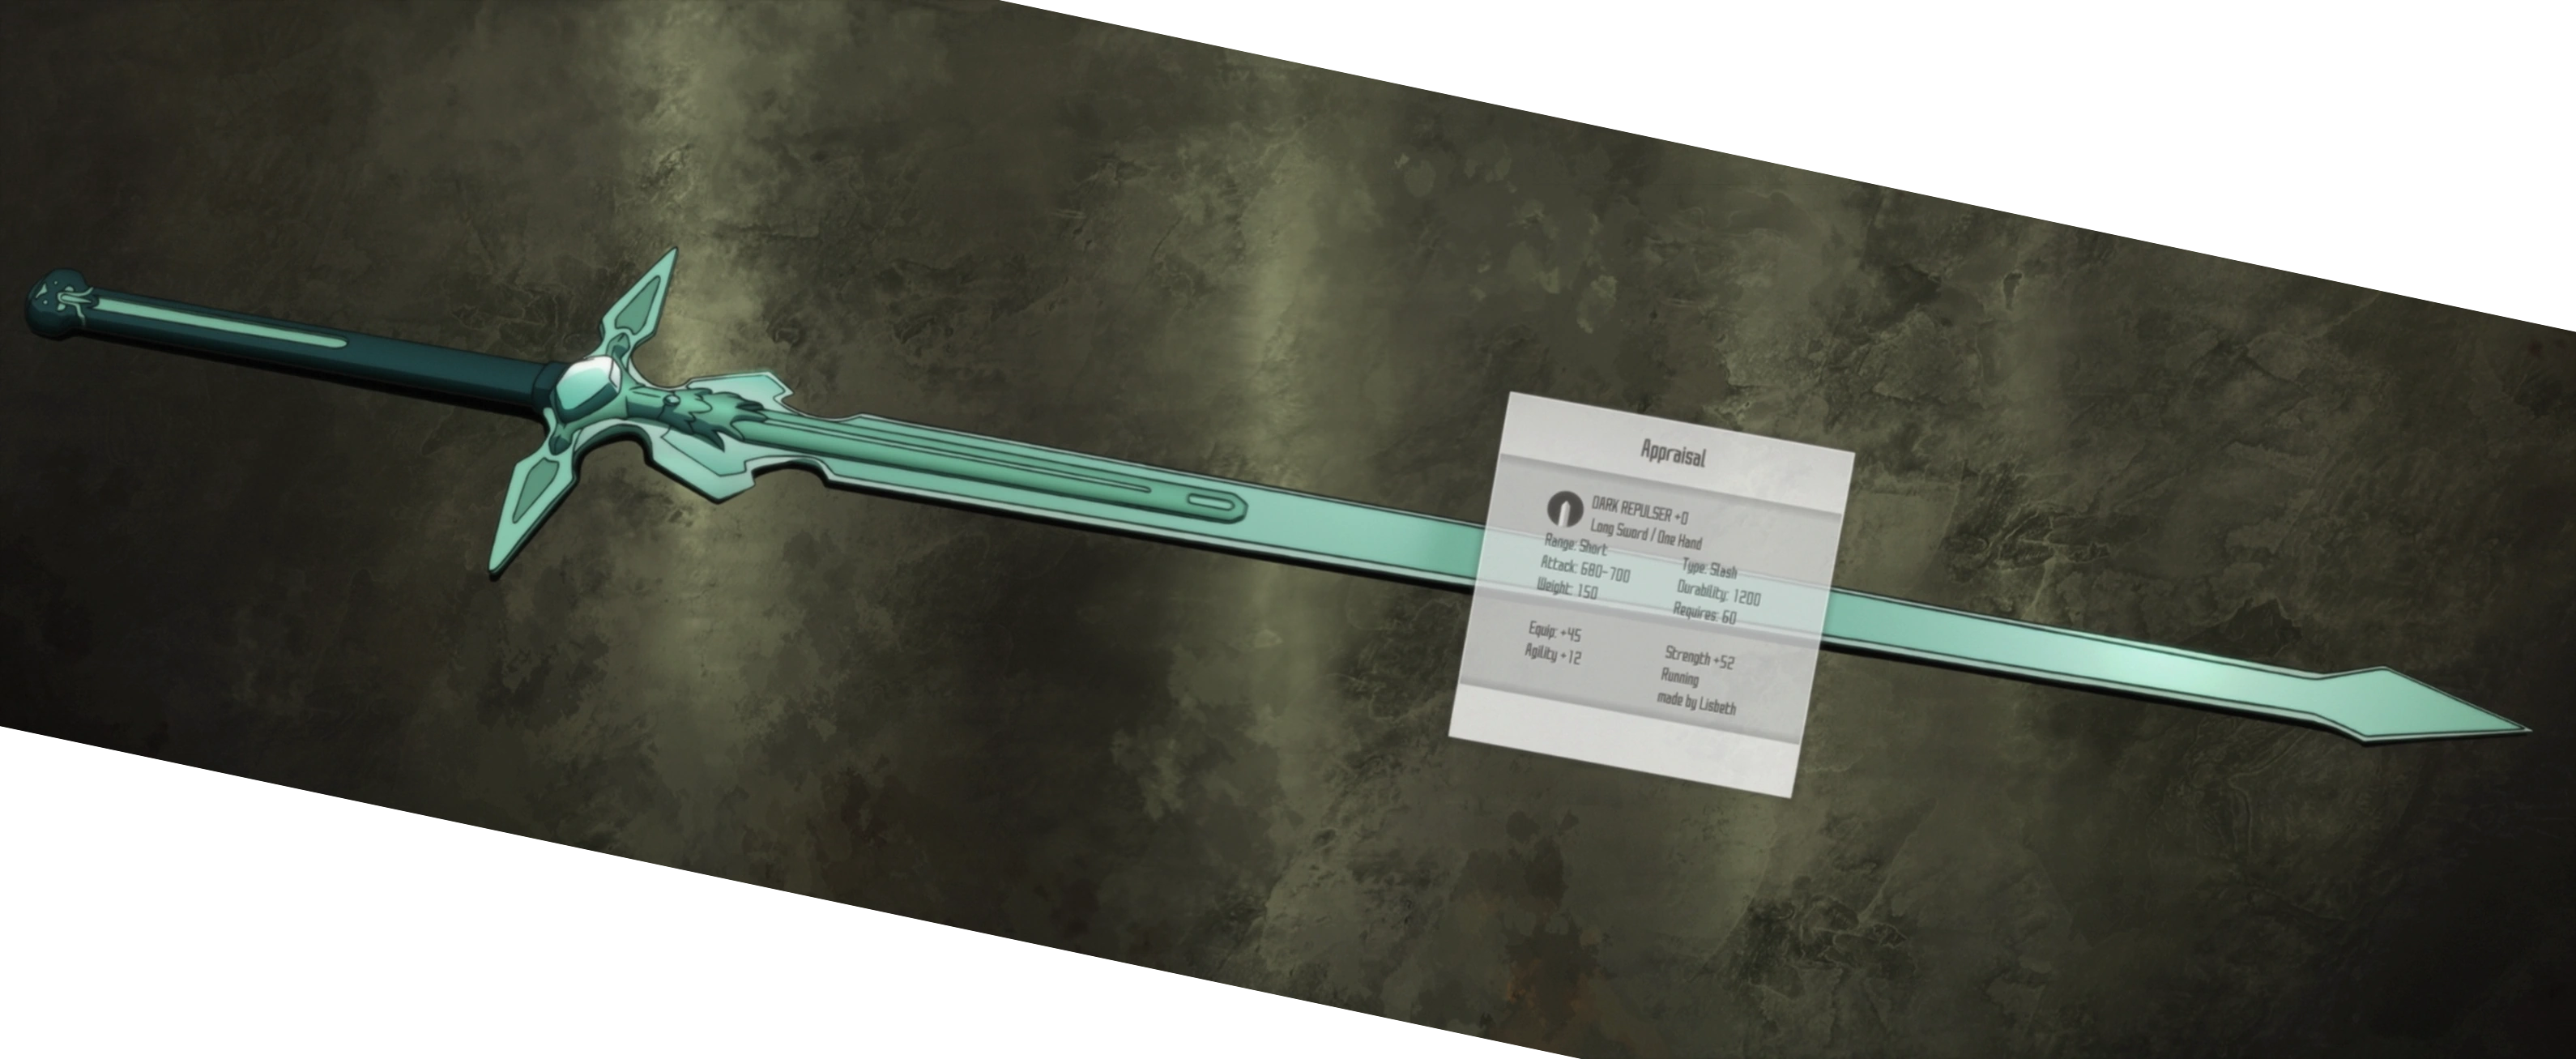
During spring break I got a sudden windfall of money, in the form of the vive being WAY too expensive for me with the current Canadian dollar. As such, I ordered some silicone and urethane resin to finally finish Dark Repulsor. This should be coming in the next week.
Finally, I read a book! One that wasn't related to engineering! It had been such a long time, I had kind of forgot what it even felt like, how you could get sucked into it. The book I read was "An Astronaut's Guide To Life On Earth" by Chris Hadfield. Now, i'm tremendously bad with names, I can barely remember the name of some people I interact with every week! Mr. Hadfield is one of the people, along with Adam Savage, Phil Plait, Elon Musk, Carl Sagan, Neil de Grasse Tyson, Bill Doran, Gabe Newell, Bill Nye, Charles Guan, and Stephen Colbert, whose names I remember easily, because I look up to them. So, it was that much easier for me to read the book.
What I took from the book was this: Humility is one of the most important thing. Be a knowledge sponge. Aim to be a zero, that is, to not be seen as a drag ( a minus one) nor as a know it all, above everyone.
Those, without ever having being said that way, have always been my goal as a human in engineering. Coming from a family with many technicians, all I ever heard about engineers was "Stupid engineer did X again, we told him it was a dumb idea" "We all know, they never listen to us technicians" "Stupid engineer, always so full of themselves, always making themselves to be more important, to appear more intelligent, more X than us". I don't think that is healthy, in any organization.
That is it for this post. Spring break is coming to an end (notice how I said it just started in the first paragraph...). This is probably going to be my worst post ever, as I just want to get it through the door...in a timely manner, and not in June. Next up! Rocket Building (maybe), French robot battle rules posting! Working on my first mold! And other unforeseen stuff.